How to Build an Effective Safety Signaling System in High-Noise Industrial Environments
In industrial facilities across the country—from steel mills and chemical processing plants to food packaging centers and power generation facilities—one challenge consistently rises above the rest: how do you deliver critical warnings in environments where workers can barely hear themselves think?
These are not quiet spaces. They’re loud, chaotic, and high-risk environments where ear protection is mandatory, machinery is in constant motion, and ambient sound often exceeds 95 decibels. In these environments, a standard buzzer or warning siren just doesn’t cut it. What’s needed is a carefully engineered signaling strategy—one that pairs sound, sight, and message clarity to get through when every second counts.
At TOMAR Electronics, we specialize in audible and visual signaling systems designed specifically for these types of hostile acoustic environments. In this guide, we’ll walk through how to effectively assess your facility, choose the right signaling methods, and implement a layered strategy that cuts through even the harshest noise environments.
What is a High-Noise Environment?
A high-noise environment is typically defined as any area where ambient sound levels exceed 95 decibels (dB). According to OSHA 29 CFR 1910.95 and NIOSH Publication 98-126, environments exceeding this threshold require enhanced hearing protection and noise control protocols due to the risk of permanent hearing damage and impaired communication.
But the problem isn’t just the noise—it’s the fact that this noise is constant and often comes from multiple sources:
- Conveyor belts
- Hydraulic presses
- Electric arc furnaces
- Pneumatic systems
- Robotic arms
- Heavy-duty ventilation or exhaust systems
Because hearing protection is often mandatory in these zones, relying solely on audible signals can be not only ineffective—it can be dangerous.
Step 1: Identify and Map High-Noise Zones
Before you can build a smart signaling strategy, you need to understand the layout of your facility and the noise profile of each area. Start with:
- Your Floor Plan: Segment your building into zones—production, packaging, shipping, maintenance, chemical storage, etc.
- Sound Level Readings: Measure dB levels across all zones using sound meters. Be sure to capture readings during peak operations.
- Operational Hazards: List out the hazards present in each zone—rotating blades, forklifts, chemical mixing, arc welding, etc.
- Personnel Distribution: Note where employees typically work and the flow of movement between zones.
This analysis will guide how you assign messaging, signaling types, and placement strategies across the plant.
Step 2: Understand the Two Ways to Overcome Noise
You have two main options when trying to ensure a signal breaks through ambient noise:
-
Overpower It
The simplest approach is to make your signal louder than the background noise—at least 5 dB higher. If your environment averages 95 dB, your signal should reach 100 dB at a minimum to be noticed.
But there’s a catch: sound decays with distance. Every time you double the distance from a signal source, the perceived sound drops by 6 dB. So, a 100 dB tone at 10 feet becomes 94 dB at 20 feet, and just 88 dB at 40 feet. This makes relying on a single sounder impractical—especially in a large facility.
-
Contrast It
If overpowering is impractical, use a signal that contrasts with the surrounding noise. A low-pitched environment (like a slow-moving conveyor belt) might benefit from a high-pitched tone. Similarly, a piercing, mid-frequency tone might stand out in a zone filled with high-pitched whines from motors.
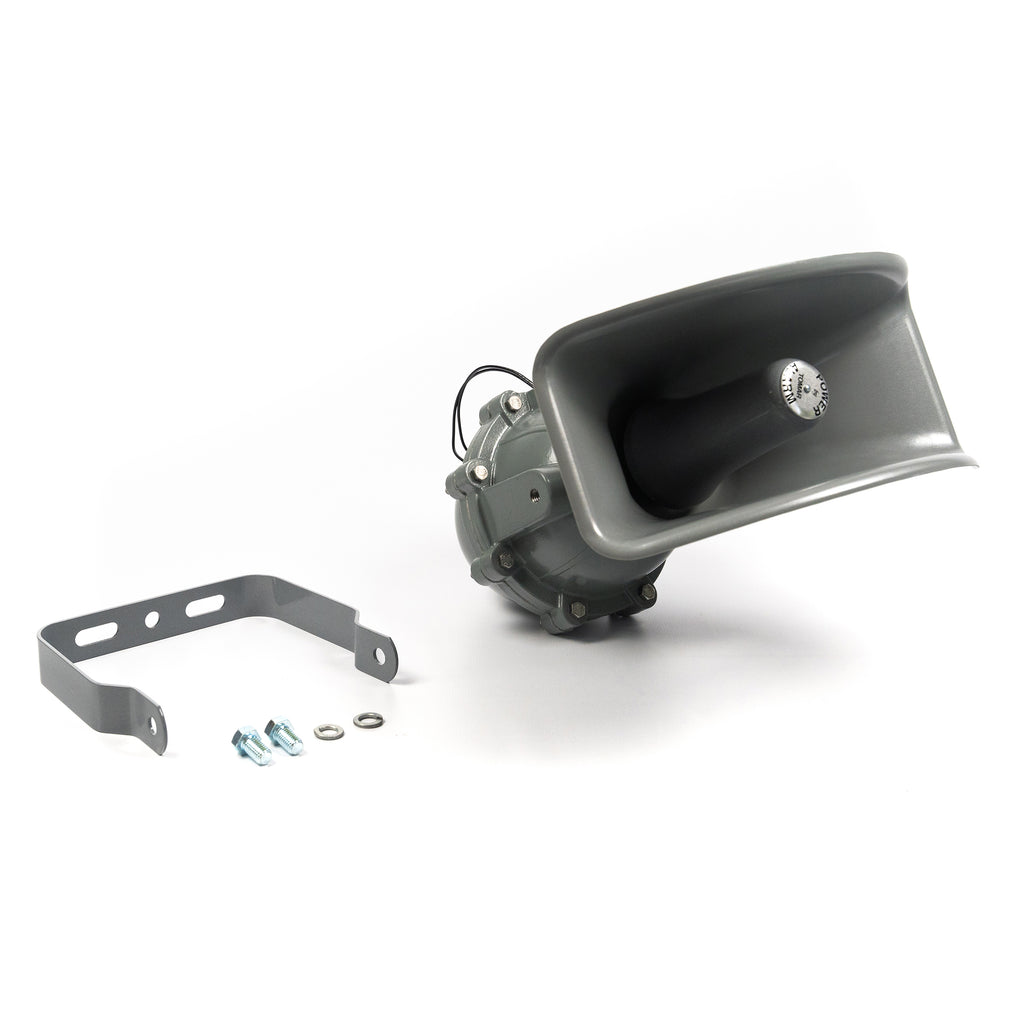
TOMAR’s electronic tone signaling systems offer a wide variety of tonal options including sirens, “hi-low” tones, and even “yeow” patterns—each designed to contrast with specific acoustic backgrounds.
References:
- OSHA Technical Manual: Section III, Chapter 5 – Noise Measurement and Control
- ISO 7731 – Ergonomics: Auditory Danger Signals
Step 3: Match Messages to Signals
Clarity is just as important as delivery. Each warning or message must be instantly recognizable by every employee—without requiring interpretation. This requires a consistent signal-to-message relationship across the facility.
Examples of Message-to-Signal Mapping:
- Evacuation: Siren tone + red rotating strobe
- Shelter-in-place: Low, alternating tone + magenta light
- Hazardous material alert: Power Alarm alert + magenta flashing light
- Reduce machinery noise: Amber strobe + preparatory tone
References:
- ANSI Z535.1 / Z535.2 / Z535.5 – Color Coding and Safety Signs
- OSHA 1910.145 – Specifications for accident prevention signs and tags
- NFPA 72 – National Fire Alarm and Signaling Code
By assigning a unique combination of audio and visual cues to each message, you reduce the chance of confusion during emergencies.
Step 4: Visual Alerts—When Sound Alone Isn’t Enough
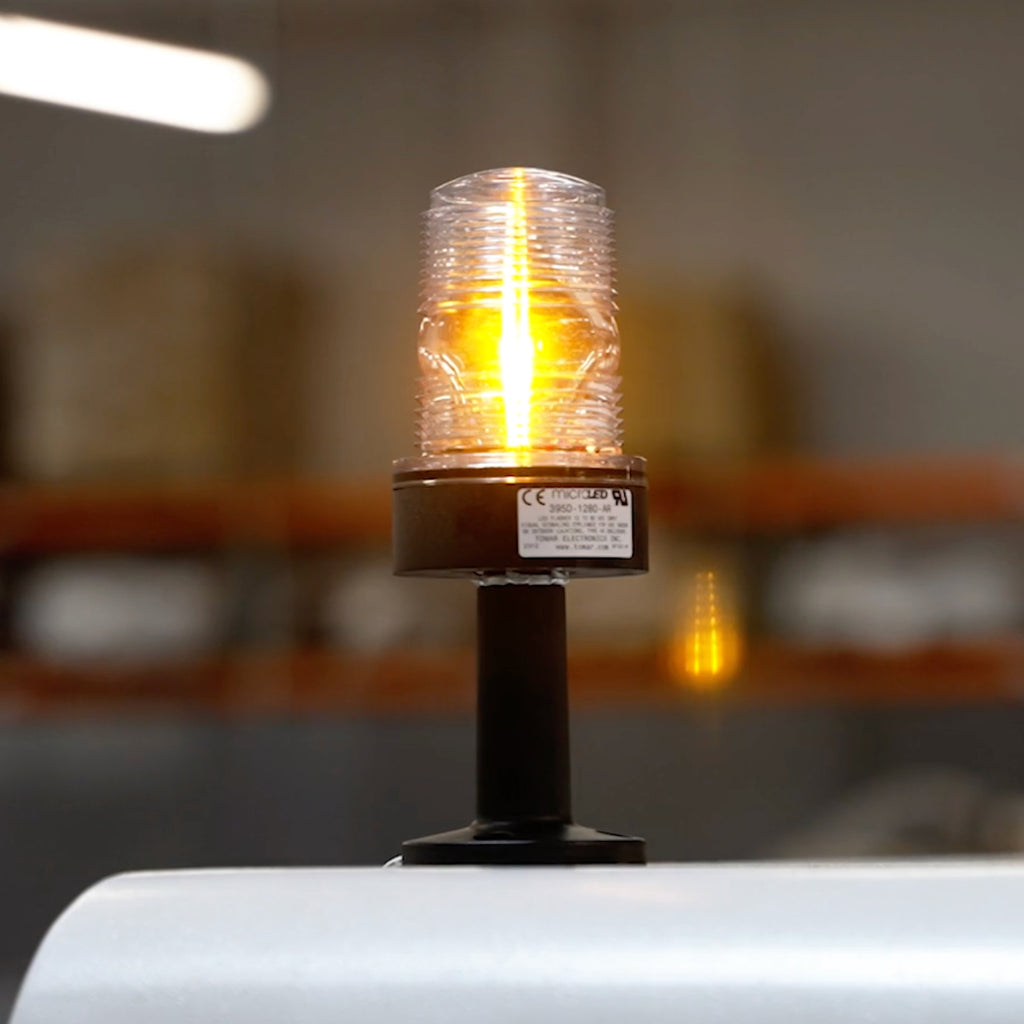
In high-noise areas, especially where hearing protection is worn, visual signaling is mandatory. A bright flashing light can be the only way to capture a worker’s attention—and TOMAR has engineered a range of lighting solutions to serve this purpose.
Visual Signaling Color Standards:
- Red: Emergency/danger
- Amber: Caution or machinery adjustment
- Green: All-clear or normal operations
- Magenta: Special designations (e.g., radiation or chemical hazards)
Stack lights like TOMAR’s LED Microstack™ and 490S-T Series are designed for these applications, offering modular, color-coded signaling that’s easy to integrate with existing PLCs and sensors.
References:
- ANSI Z535.1 – Safety Color Code
- ISO 3864-1 – Graphical Symbols—Safety Colors and Safety Signs
- NFPA 704 – Hazardous Materials Identification System
Step 5: Combine Sound and Light for Maximum Effectiveness
A layered alert system combining sound and light increases the likelihood that your message gets through.
Example:
- A punch press area emits a loud, rhythmic low-pitched hum (92 dB).
- Workers wear hearing protection.
- Your warning signal should include:
- A high-pitched, pulsed tone above 97 dB
- A bright red strobe beacon with 360° visibility
TOMAR’s audible signaling devices with strobe integration make this type of combo system seamless.
References:
- ISO 11428 – Visual Danger Signals
- NFPA 72 (Chapter 18) – Notification Appliance Requirements
Step 6: Use Zoned Output Systems
Not every signal needs to trigger across the entire plant. Zoned output lets you isolate warnings to the area where the danger exists.
This prevents:
- False panic in uninvolved zones
- Complacency from repeated, irrelevant alerts
- Production delays caused by plant-wide shutdowns
TOMAR’s MicroLERT™ and MicroSTROBE™ solutions can be used for localized alerts, while larger systems can be zoned using PLC-controlled electronic tones that only affect specified sections of your facility.
References:
- NFPA 72 – Section 23.8.4.1 (Zoned Notification)
- IEC 60204-1 – Safety of Machinery – Electrical Equipment of Machines
Step 7: Placement is Everything
Proper signal placement is as important as the device itself. Here’s why:
- Sound is blocked by partitions, storage racks, or heavy machinery.
- Visual signals can be obscured by forklifts, conveyor belts, or hanging equipment.
Best Practices for Placement:
- Use multiple smaller units rather than one large siren or beacon.
- Elevate lights and sirens above common sight lines and obstacles.
- Test for visibility and audibility at various workstations.
- Place strobes at entry/exit points to alert workers coming in or out.
TOMAR offers rugged, industrial-rated signaling equipment built to withstand dust, moisture, chemicals, and high temperatures—perfect for complex plant layouts and harsh environments.
Reference:
- ISO 11429 – Auditory Danger Signals—General Requirements
- NFPA 72 – Spacing and Placement Guidelines for Visual and Audible Alarms
Step 8: Build for Flexibility and Growth
The industrial landscape is dynamic. As your operations grow or change, your signaling system needs to keep up. TOMAR’s modular architecture and electronic systems are designed with scalability in mind:
- Add or swap tone modules
- Expand light stacks for more messages
- Integrate with updated PLCs and automation controls
- Upgrade to audible alert systems without rewiring the plant
Future-proofing your signaling system ensures you remain compliant, efficient, and safe long term.
References:
- NFPA 70 – National Electrical Code (NEC)
- IEC 61010 – Safety Requirements for Electrical Equipment
- OSHA 1910.212 – General Requirements for Machine Guarding (including signaling integration)
Step 9: Maintain and Audit Regularly
A forgotten or malfunctioning signal is worse than none at all. Build routine inspections into your safety audits:
- Are all signals functioning correctly?
- Are tones audible and distinct in each zone?
- Are lights visible from every worker’s position?
- Are new hazards covered?
Incorporate training refreshers so employees know what each signal means and how to respond. TOMAR also offers documentation and support for system testing and troubleshooting.
Why Choose TOMAR for High-Noise Industrial Signaling?
TOMAR Electronics has been at the forefront of industrial signaling for over 50 years. From manufacturing and pharmaceuticals to oil refineries and power plants, TOMAR’s visual and audible warning systems help protect lives and keep production on track—even in the harshest environments.
- Engineered for high dB applications
- Modular, scalable systems
- UL Listed and NFPA compliant
- Made in the USA
- Supported by expert teams who understand the realities of industrial operations
Final Thoughts
When you operate in high-noise environments, signaling isn’t optional—it’s mission-critical. Safety can’t wait until it’s quiet. That’s why building a layered, consistent, and well-planned signaling strategy is essential for compliance, employee protection, and operational continuity.
Whether you’re upgrading outdated alarms or designing a system for a new facility, TOMAR’s full suite of power alarms, andon stack lights, and beacons solutions ensures you never leave your workers in the dark—or in the noise.


